Seed Starting Guide
Indoor Seed Starting
When to Start Seeds
Timing is critical. If you start your seeds too soon, they may grow out of their containers before spring arrives. Start them too late and they won't be ready in time. A good rule to follow is to start your seeds about eight weeks before the last expected spring frost.
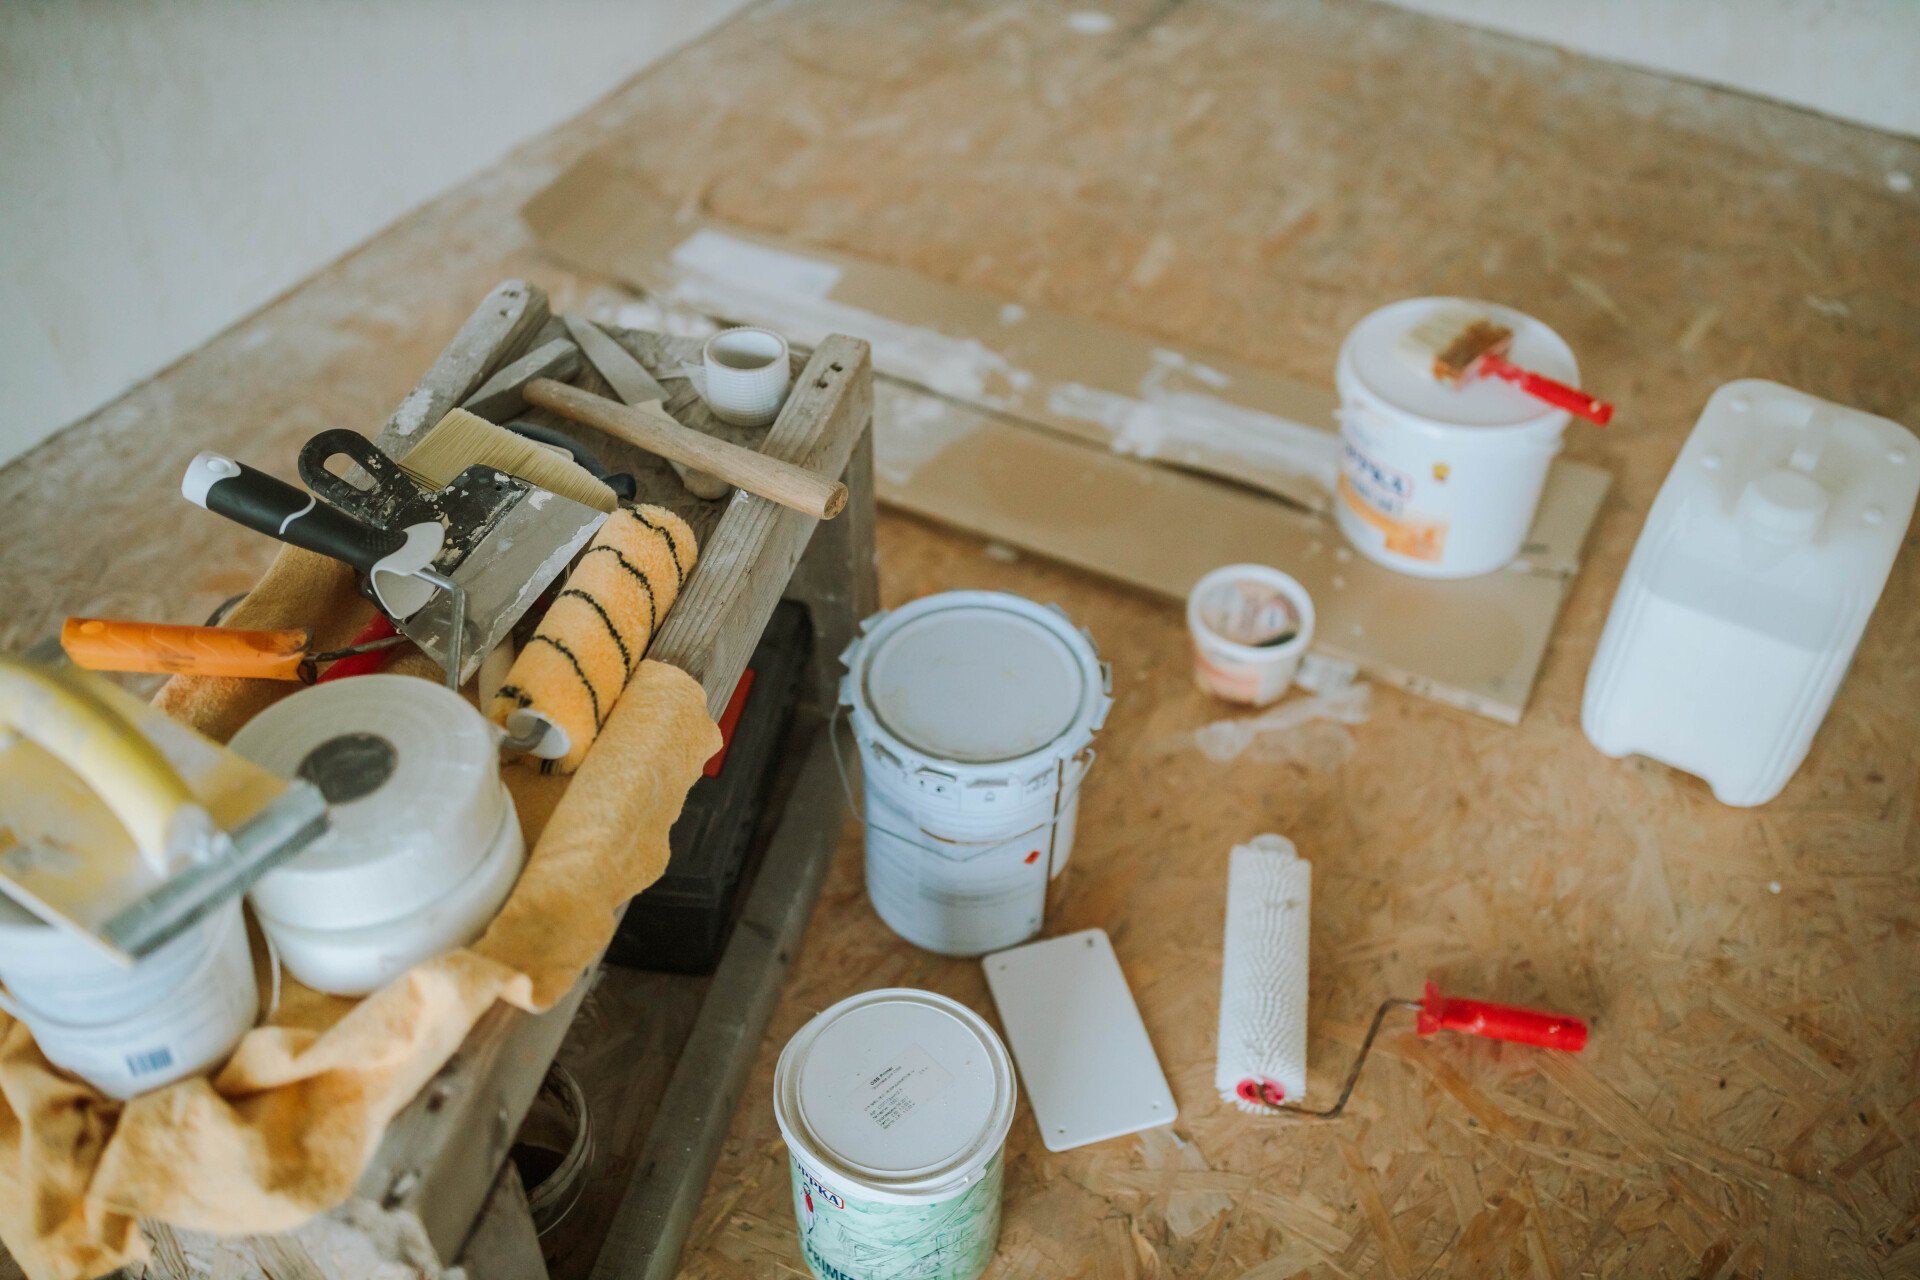
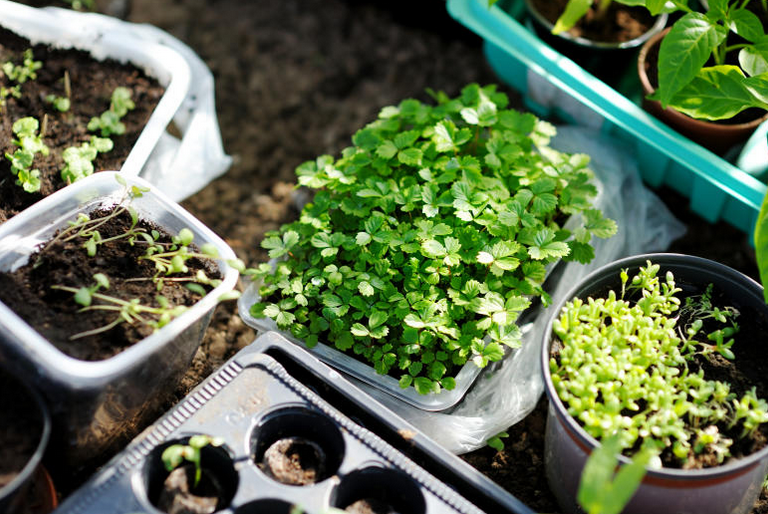
Seed Starting Containers
Choose a starter planter with proper drainage. Seed flats, peat pots, plastic cups, egg cartons, even takeout boxes with holes poked in the bottom work well. In general, your planting containers should be at least 3" to 4" deep. Fill them to about 1/4" from the top with soil.
Planting Soil
The best type of soil for starting seeds is commercial potting soil or germination mix, which can be found at
Reedsburg True Value® hardware store. These planting mediums are sterile, free of weed seeds and have the right amount of nutrients for newly emerging plants. The soil should be lightweight and full of air. Soil-less mixes containing peat or peat moss have excellent moisture retention and stay moist longer. Perlite and vermiculite have the same effect. Make sure the soil you choose has been sterilized.
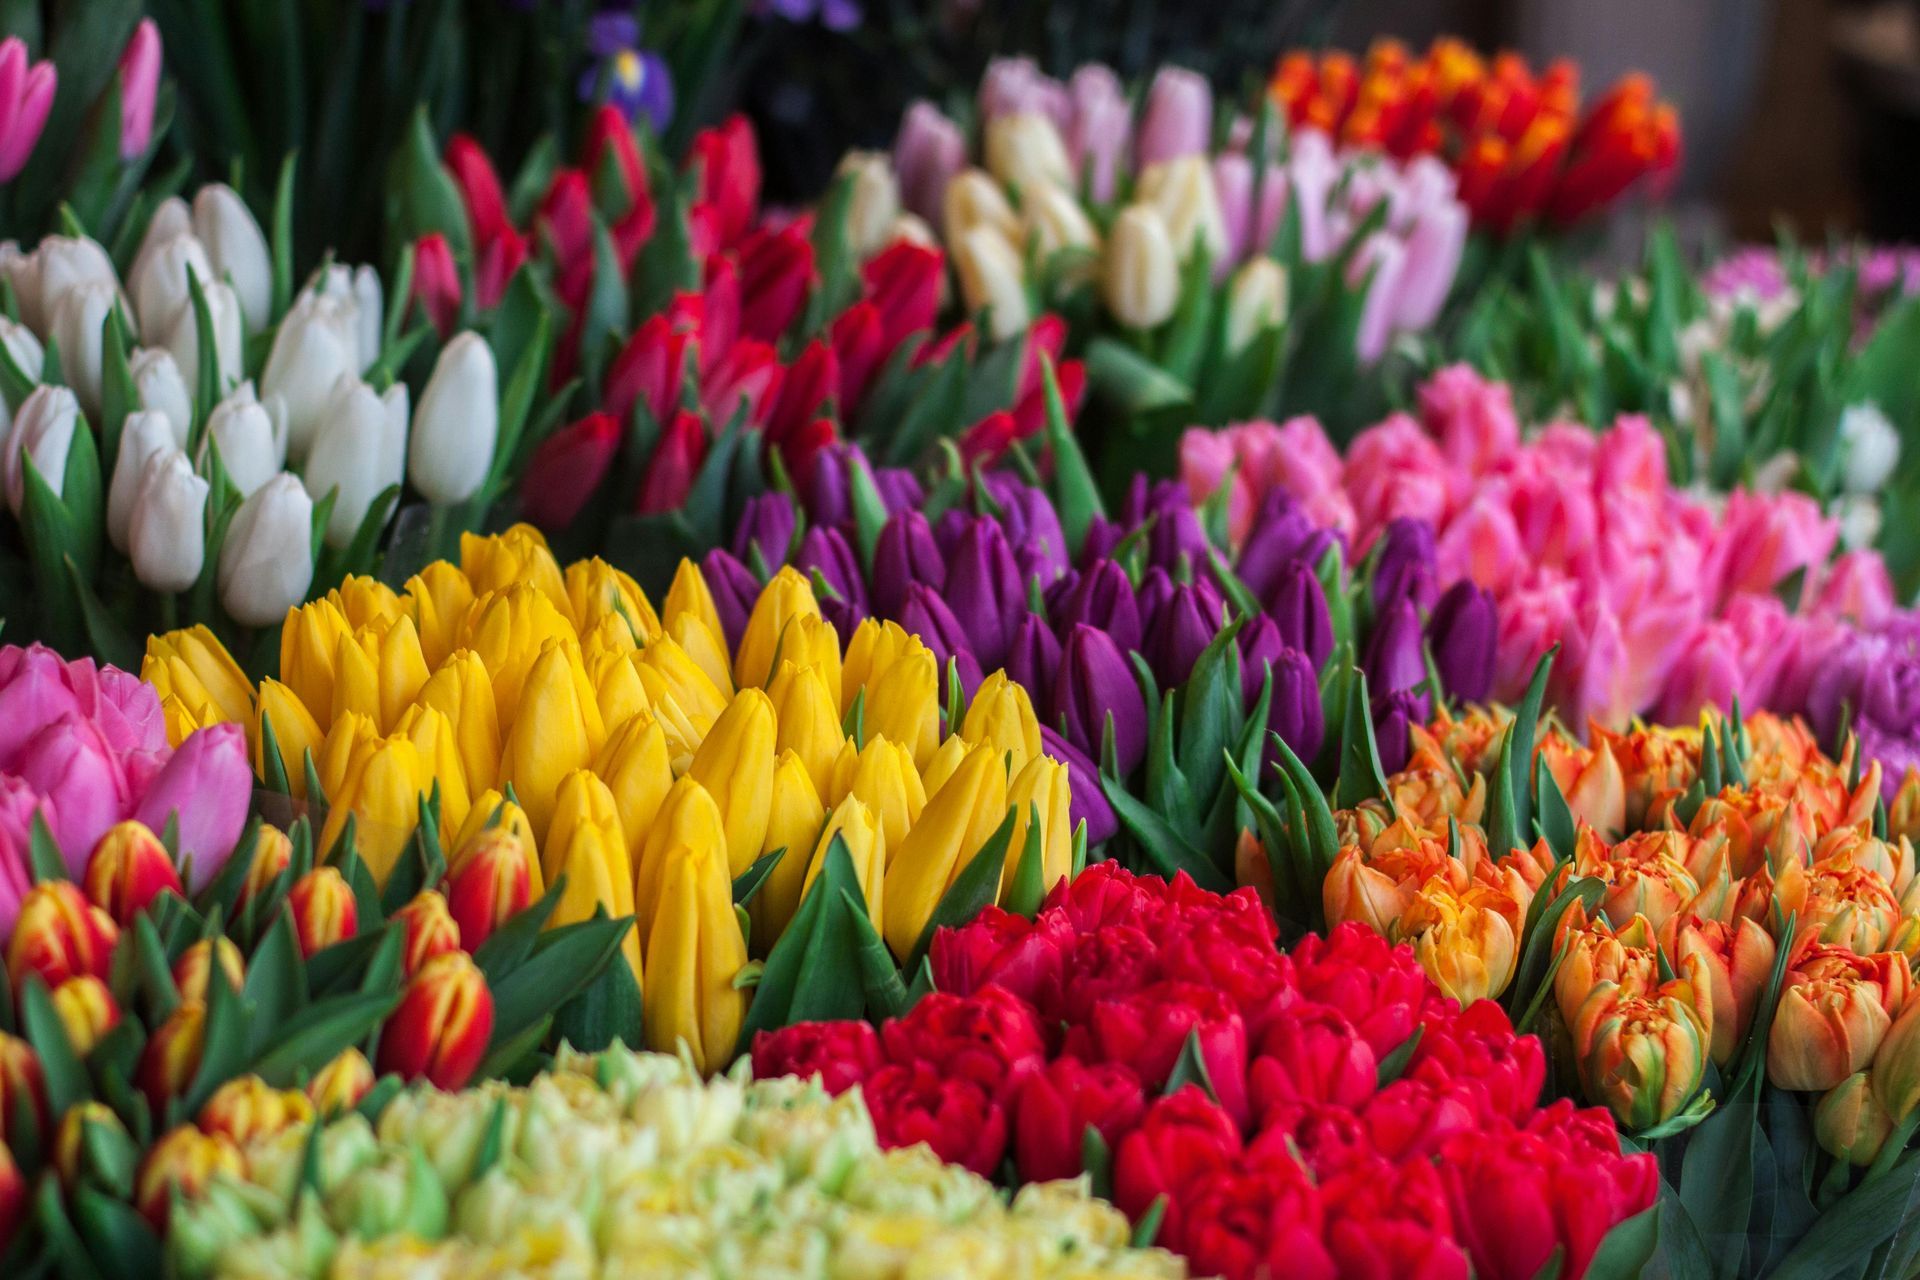
Planting Seeds
Use a tray to hold your starter containers. Line the bottom of each container with paper towels to keep the soil in while allowing water to drain out. Fill the containers with potting mix then spread seeds evenly about 1" apart. Use a pencil to make holes two to three times the size of the seed. Then cover the seed with a thin layer of soil and mist with water.
Germination
Check the packet instructions to determine how much light your seeds need to germinate. Some seeds need little or no light to sprout while others require more. To help your seeds germinate, keep them in a warm area, but not hot. Covering the planters with plastic wrap will keep them warm and moist, helping them germinate. Be sure to remove wrap as soon as the plants sprout. Then, keep them at room temperature. Water sprouts daily with a light mist, being careful not to over-water.
After the seedlings germinate, they will need a lot of light. Place them in a naturally sunny window, or purchase fluorescent grow lights. If you're using grow lights, place your planters 3” to 4” away from the light source for at least 14 hours a day.
Fertilizing
Monitor your seedlings' growth carefully to know when to start fertilizing. The first leaves that appear will be food storage cells called cotyledons. Wait until the first true leaves sprout and then use a quality liquid fertilizer —
available at Reedsburg True Value hardware store. Use a weakened solution (diluted to half the recommended strength) once each week.
Harden your plants
Now you'll want to harden off the plants, which means to acclimate them to the outdoors. When temperatures rise to the 50s, place the seedlings outside in a shady spot for half a day. Slowly work your way up to leaving the seedlings outside for two or three full days. Gradually move them into full sun. Monitor the temperature, as you don't want any late frosts to kill your new plants.
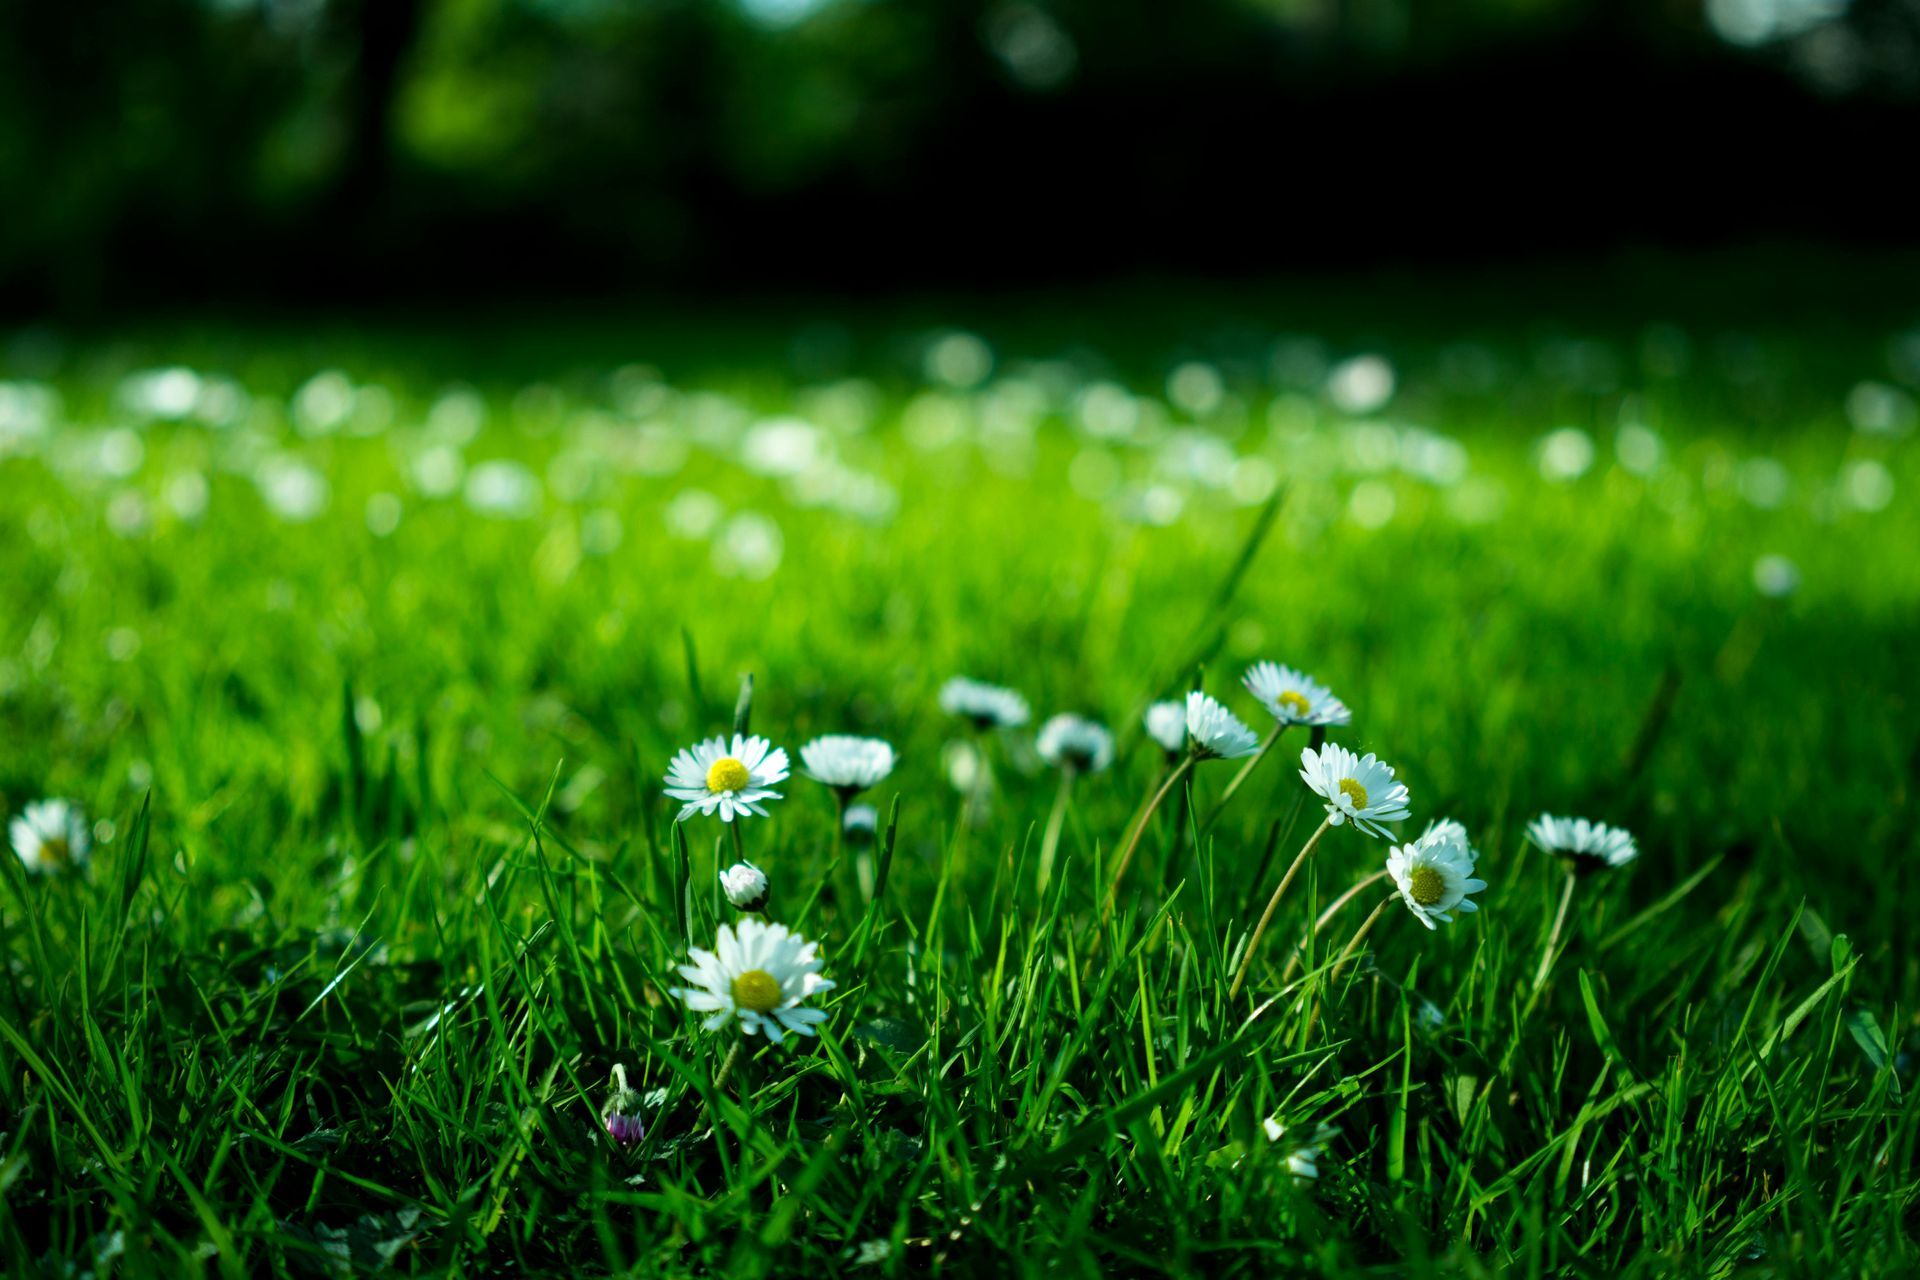
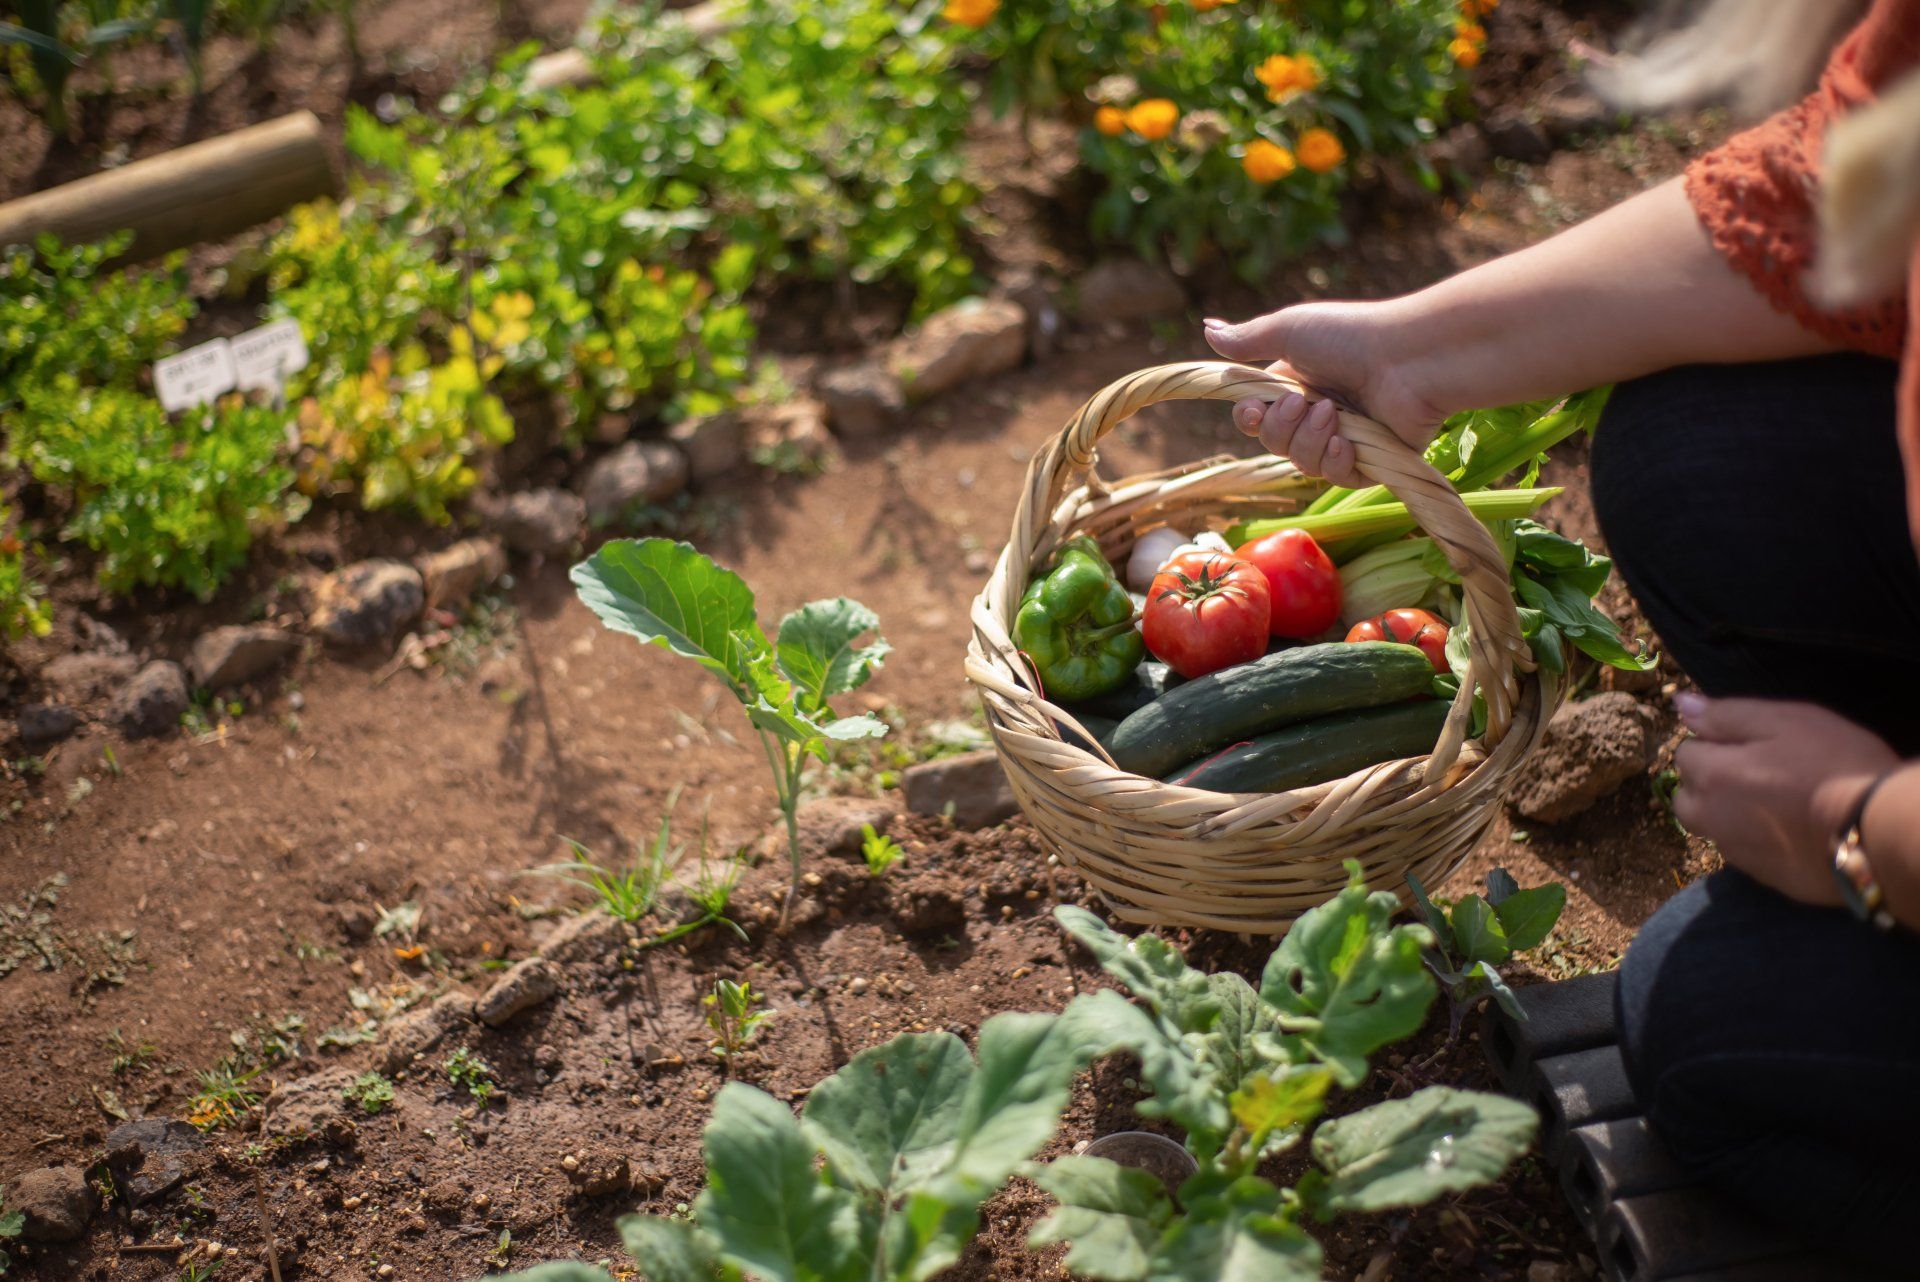
Transplanting
Generally, seedlings are ready to be planted four to six weeks after seeding. If outdoor frosts linger or the seedlings outgrow their original containers, transplant them into a larger pot until they're ready to be planted in the ground.
When you are ready, water the ground and the seedlings thoroughly. Use a trowel to dig a hole about twice the size of the root ball. Set the seedlings in gently, covering them and leaving 1/4" of soil pressed firmly around the roots. Leave a small depression around the plant stem to help trap moisture. Water daily or according to seed packet instructions.
For seed, seed starting soil, fertilizer, gardening tools and supplies visit Martens Reedsburg True Value store today!